
What to Actually Prepare for Birth as a Solo Mum - The Practical Guide Nobody Writes
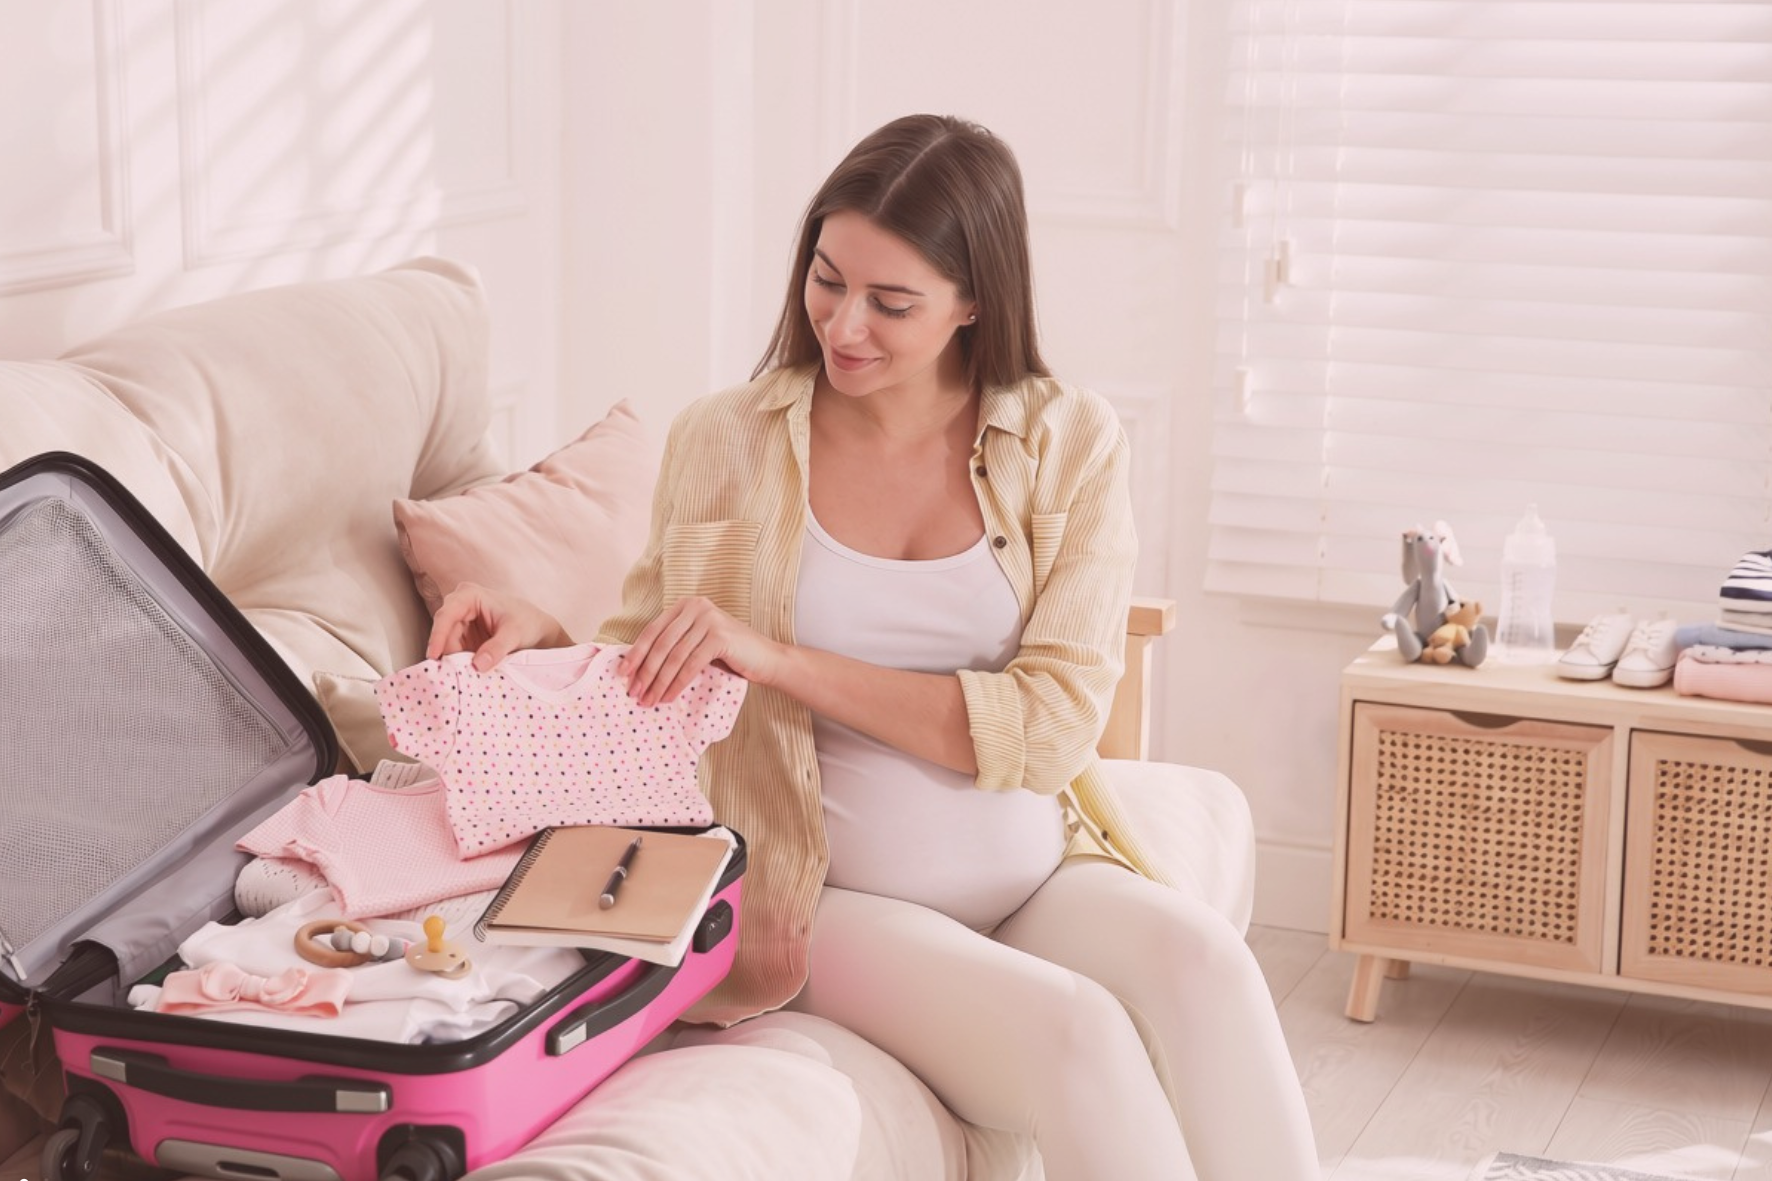
The hospital bag is the least of it. Here is what actually matters.
Every pregnancy website has a hospital bag list.
Almost none of them are written for someone who is going to be doing this without a partner. And the difference matters more than you might think — not because birth is harder when you are doing it alone, but because the preparation looks different. The logistics look different. The things that can go wrong, and what you need in place if they do, look different.
This is the guide I wish someone had handed me.
1. Pack your bag earlier than you think.
The standard advice is to have your hospital bag ready by 36 weeks. For solo mums, I would say 34 weeks at the latest — and here is why.
You do not have a partner who can throw things in a bag and meet you at the hospital. You do not have someone at home who knows where everything is. When labour starts — or when something unexpected happens at 35 weeks — you are the one who needs to be ready.
Pack the bag properly and put it by the door. Then forget about it.
2. Pack a mini version too.
A small bag for your office and another in your car (if you commute via public transport) from around 35 weeks. Not the full bag — just enough if things move faster than expected: a copy of your birth plan, a phone charger, some snacks, maternity pads, a change of clothes for baby and one for you. If you go into labour at work, at a café, or anywhere that is not home — you have something to work with while someone brings the rest.
Someone can always pick up your full bag from home once you are at the hospital. They cannot give you what you do not have on you.
3. The hospital bag itself: solo mum non-negotiables
The full checklist is linked below — but within it, here are the things that matter most specifically when you are doing this alone.
A long phone charger cable. Not a short one. A long one — long enough to reach your bed from any outlet in the room without you having to move or stretch after birth. Your phone is your connection to everyone. Keep it charged and within reach (and you’ll be wanting to take a million photos and videos of those special early moments).
A large water bottle with a straw. You will be using one hand for a significant portion of your hospital stay. Feeding, holding, settling. A straw means you can hydrate without putting the baby down or asking someone to help you (and filling the hospital cup from a jug whilst holding a baby is a very specific skill). Get a good one and put it in the bag now.
Headphones and a portable charger. Long labour, potentially long nights. Your entertainment and your energy are your own responsibility. A portable charger means your phone never dies even if there is no outlet nearby.
A selfie stick or small tripod. You are going to want photos of the first moments. Your birth partner (if you have one) will hopefully get some for you, but there will likely be a lot of moments with just you and your baby. A tripod means you don’t just have selfies and a remote means you take take a whole heap of photos, then just keep the good ones.
Everything you need for the first 48 hours in the main compartment. Not buried at the bottom. If you can only reach one part of your bag easily, make sure it is the part that matters most.
4. Set up your phone before you go in.
Your phone needs to be ready to do its job without you having to navigate it mid-labour or mid-contraction.
Emergency contacts in the right order. Your birth partner first. Your backup contact second. Anyone else who needs to know third. Label them clearly — not just by name, but by role. "Birth partner — [Name]" “ICE” so that anyone picking up your phone in an emergency knows exactly who to call.
Your medical information on your lock screen. iPhone users: Settings → Health → Medical ID. Android users: similar emergency information function. Your blood type, any allergies, any relevant medical conditions and pregnancy-related conditions (such as gestational diabetes), your emergency contact. This is accessible to paramedics and hospital staff even when your phone is locked.
A group chat ready to go. One message to the right people who you want to know when you arrive at the hospital, when the baby arrives, etc. Have the group set up in advance so you are not creating it while you are in active labour. Possibly even create most of the announcement message so you can just populate the final details. Add into that any instructions for visitors or to manage expectations on you replying to messages to make your life easier (eg: I’ll likely leave responding to all my messages until we are home and feeling settled. I will let you know when I am ready for visitors). Sending this message could also be a job for your birth partner and you can mute the group chat until you are ready to read the replies.
5. Create an emergency file.
This is the one most people do not do and it is one of the most important things on this list.
If something happens to you during birth — and statistically it almost certainly will not, but we plan for the unlikely because we are prepared, not because we are afraid — your emergency contact needs to know what to do. Not guess. Know.
Create a document — digital is fine, a printed copy is better — and give it to your emergency contact before you go to hospital. It should include:
Your important passwords (phone PIN, email, banking if relevant)
Your insurance details and policy numbers
Your will and where it is stored
Your pet's name, vet details, who is currently caring for them, feeding routine and where the food is kept, etc.
Who has a spare house key and their details.
Details of important contacts who would need to be told or updated on the situation (close friends and family etc)
Any other information someone would need if they had to step in and manage your life for a period of time
You hope this file never gets opened. You will feel significantly better for having it.
6. Your birth plan: write it, print it, bring copies.
A birth plan is important for any pregnant woman. For a solo mum it is particularly valuable — because you may not be able to speak for yourself at every moment during labour, and your birth partner (if you have one) needs to know what to advocate for on your behalf and your care team needs to know your wishes.
Keep it to one page. Cover the key things: your preferences around pain relief, your position on interventions, who you want in the room, what you want the first moments to look like, your feeding intentions. Be clear about what matters most to you and what you are flexible on.
Print at least three copies. One for your bag, one for your birth partner, one to hand to the midwife when you arrive.
7. Brief your birth partner properly (if you have one) — before labour starts.
Your birth partner (if you choose to have one) is doing a job that a partner would typically do instinctively. They need to know what that job actually involves — not just "be there for support" but the specifics.
Go through your birth plan with them. Walk them through what you want if you cannot communicate it yourself. Tell them who to call and in what order. Tell them how you cope with pain and what helps. Tell them if you want photos and how you want them taken. Tell them where the bag is and where the emergency file is.
Do this conversation at around 34-35 weeks — not when you are in labour and not after the fact.
8. The things that will not be on any generic list
A few final things worth thinking about that the standard lists miss entirely.
Arrange your pets before you get to 37 weeks. Not when you go into labour. Before. Know who is taking the dog or the cat and have it confirmed, not just loosely agreed. Text them when your contractions start, not when you are already on the way to hospital.
Tell your workplace at 35 weeks who to contact if you go into labour during work hours. Not a big announcement — just a quiet word with one person. "If I suddenly need to leave, here is who to call and here is what they will need to know."
Have multiple plans for getting to the hospital. Who is driving you? What is the backup if they do not answer? Is there a third option? Think through the scenarios now, not at 2 am when contractions are five minutes apart.
Pack for the baby as carefully as you pack for yourself. The checklist covers this in full — but the most important thing for solo mums specifically is to have the going-home outfit easy to find and the car seat installed well before you need it. You will not want to be sorting either of those things on the way out of hospital.
You have prepared for everything else on this journey.
You made the decision. You navigated the fertility treatment. You grew this baby. You have thought about every stage of this more carefully than most people think about anything.
Preparing for birth is just the next step on the same path. And the fact that you are reading this means you are already doing it right.
The Ultimate Hospital Bag Checklist — covering everything you need for mum, baby, your support person and the practical extras — is below.
👉 Download the free hospital bag checklist →
Note: This checklist will be updated soon. If there is something you think is missing, hit reply to any of my emails and let me know — your suggestions go into the next version.
And if you want to work through all of this properly — the birth plan, the fourth trimester, returning to work, the finances, and everything else that comes with preparing to do this as a solo mum — the Preparing for Solo Motherhood course covers it all. Available as a live group course and on demand.
👉 Find out more about Preparing for Solo Motherhood →
Alisha Burns is the founder of Solo Mum Society and a solo mum by choice. Her daughter was conceived via donor conception and born in 2020. Solo Mum Society is Australia's leading community for women choosing solo motherhood by choice.